

Due in no small part to the slow organic processes of our natural world, some scientific experiments demand more than the prescribed 30 to 40 minutes of a library event. Some require much more time to occur. Listed below are instructions on how to perform three awesome experiments at home over the course of a night, a few nights or even several weeks!
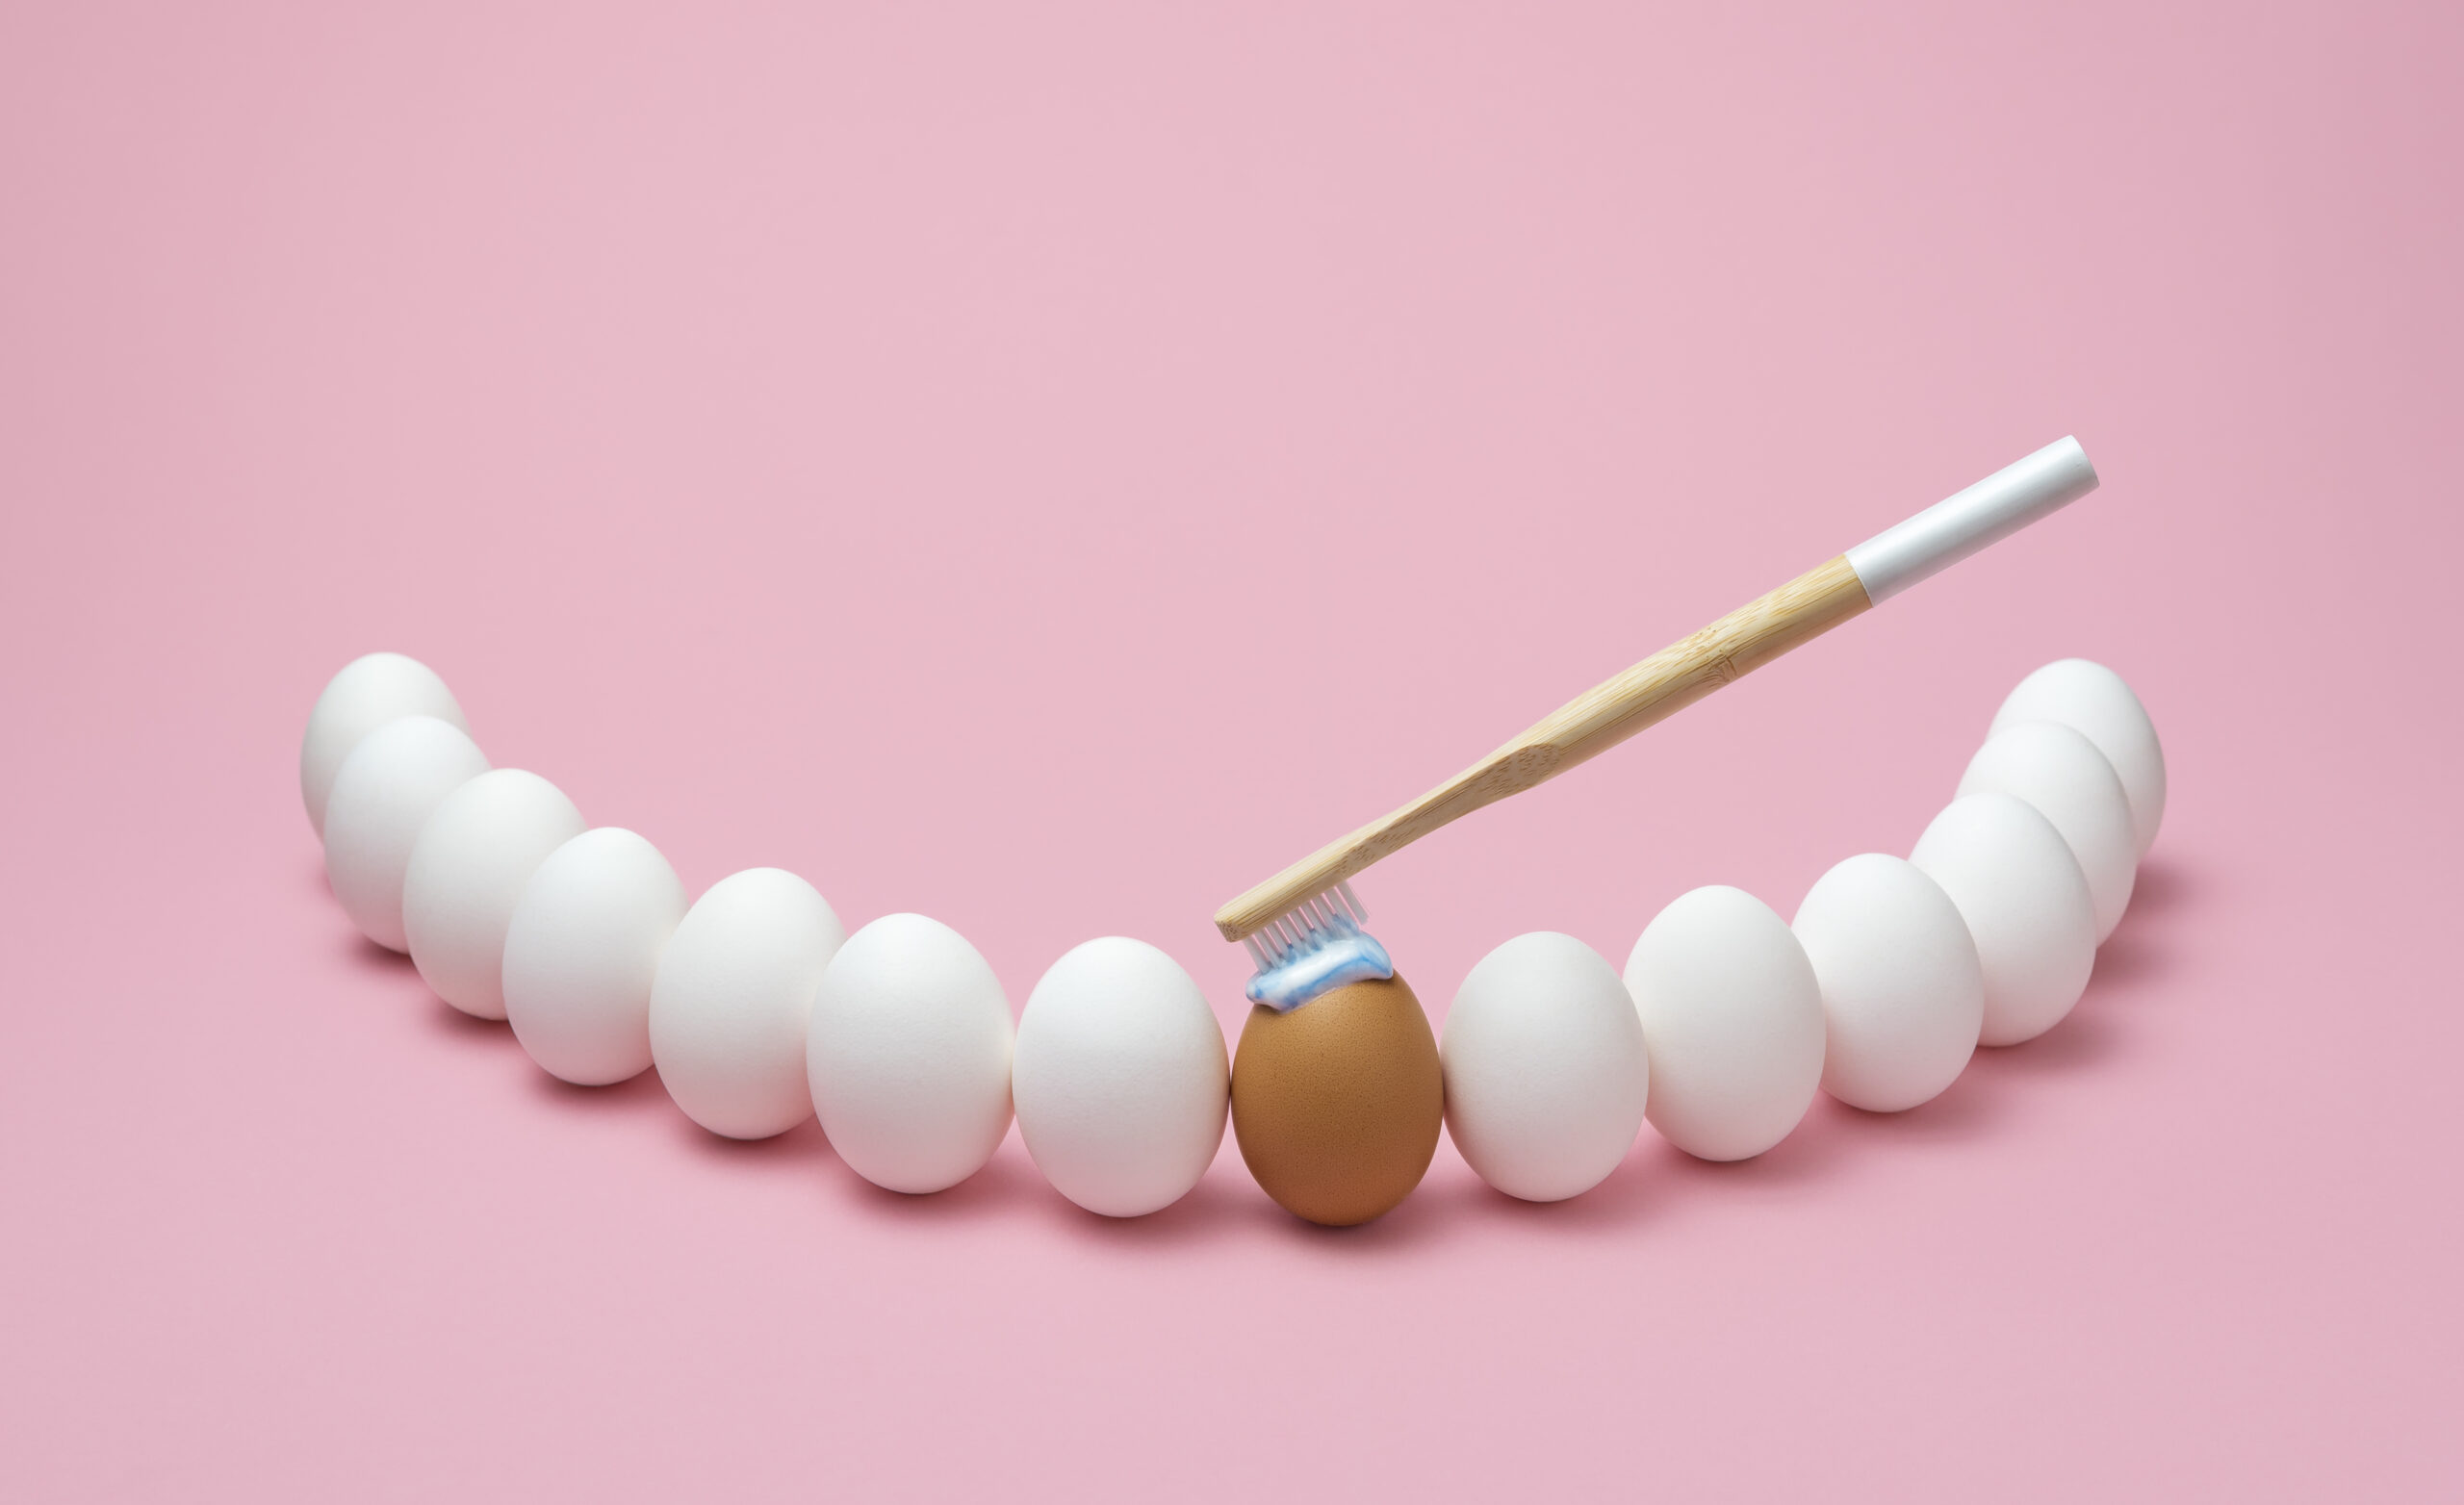
Brushing a Soda-Soaked Egg! (Children) – 1 Day
Supplies:
- Permanent marker
- 3 clear cups
- Dark colored soda
- Fruit juice
- Water
- 3 white eggs
- Disposable toothbrush
- Toothpaste
Experiment:
- With a permanent marker, label one clear cup “soda,” one “fruit juice,” and another “water.”
- Fill each cup with the labeled liquid. Place an egg in each cup and let sit overnight.
- In the morning, pour the liquids out while leaving the eggs in the cups.
- Examine the eggs to see what happened. You should notice that parts of the “soda” egg have eroded, and it is now stained. Try to see if you can brush the dark “soda” off the egg. If done correctly, the soda will be incredibly difficult to get off.
- Now try to brush the egg after wetting the brush and try it with toothpaste. This experiment can serve as a good metaphor for why you should always brush your teeth!
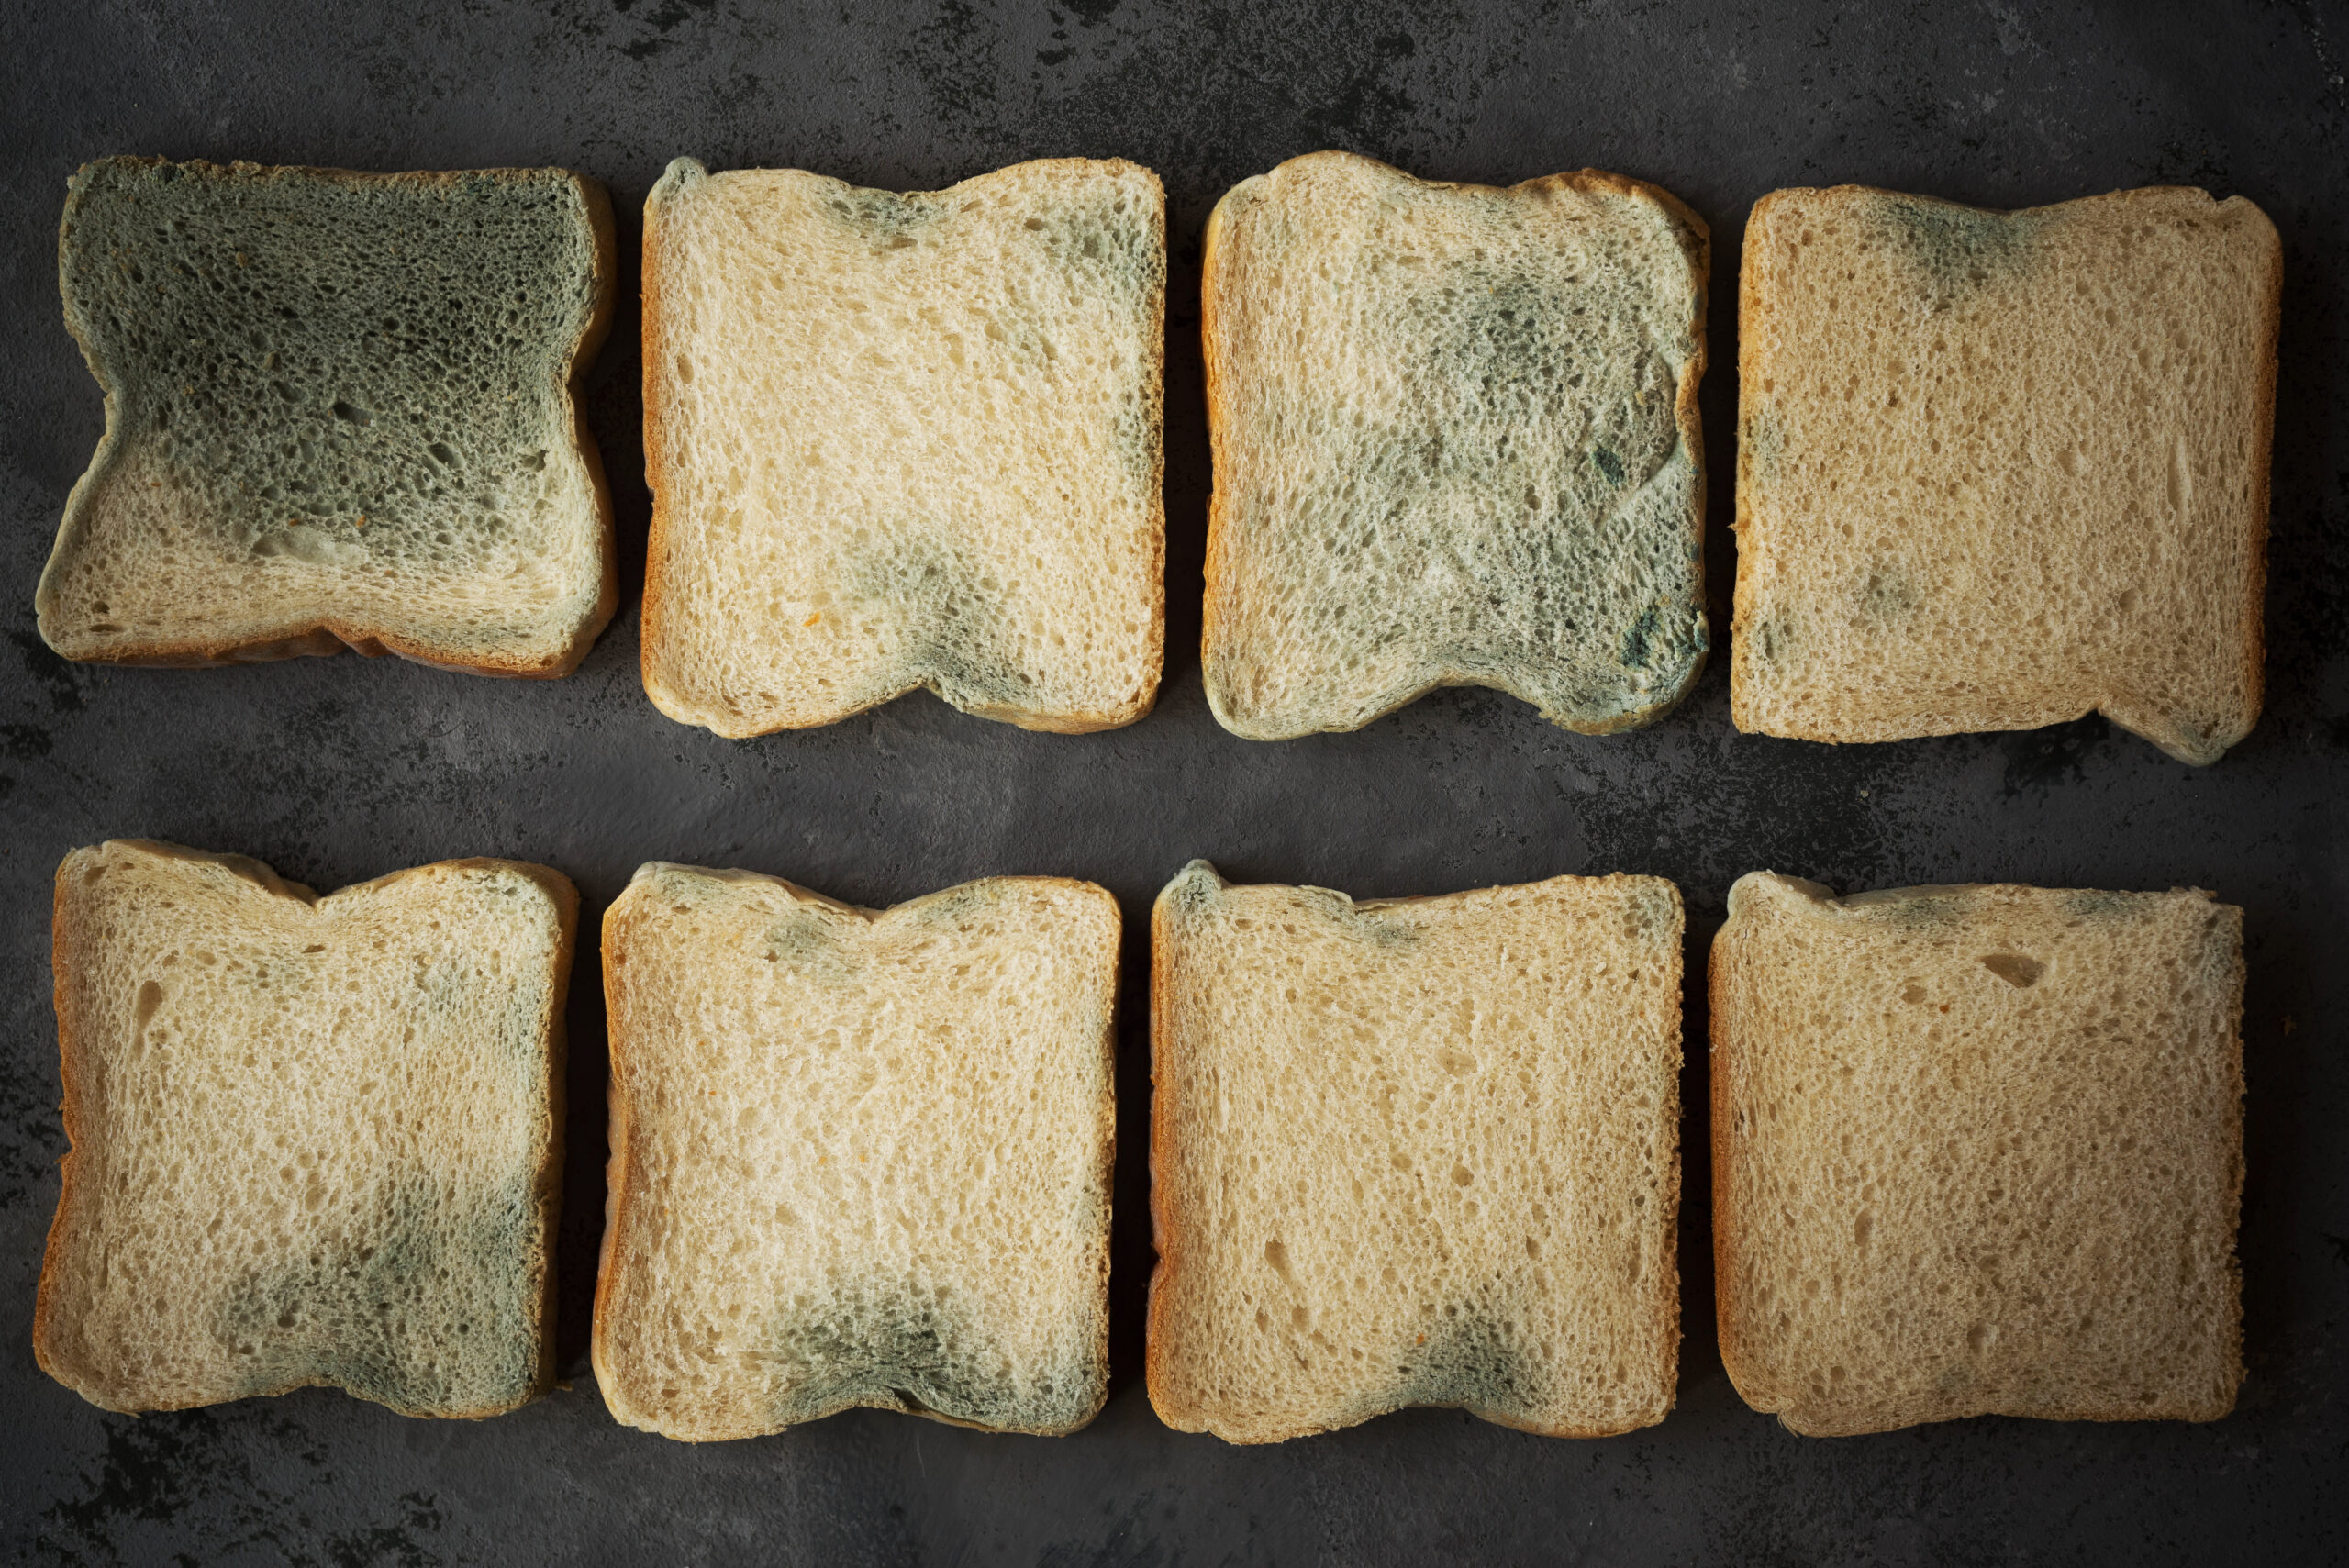
Creating Your Own Germ Colony! (Children with Adult Supervision) – Three Days
Supplies:
- Spray bottle
- Water
- 1 teaspoon of sugar
- A slice of bread
- Sandwich baggies
- Permanent marker
Experiment:
- Fill a spray bottle with water, add sugar, and shake until the sugar dissolves.
- Wash your hands and grab a piece of bread from a loaf. Spray it once with the water.
- Wipe the wet side on a surface in the house (make sure to clean the surface afterward). Try the inside of the kitchen sink, a doorknob, fridge doorhandle, etc.
- After wiping, place the bread in a baggie, seal, and label with a marker. Put the baggie in a dark location for three days. After three days, a germ colony should have developed on the bread in the form of mold.
- Perform the same steps but wipe down the surface with soap or a sanitized rag and then wipe the bread. This experiment helps illustrate the importance of washing your hands!
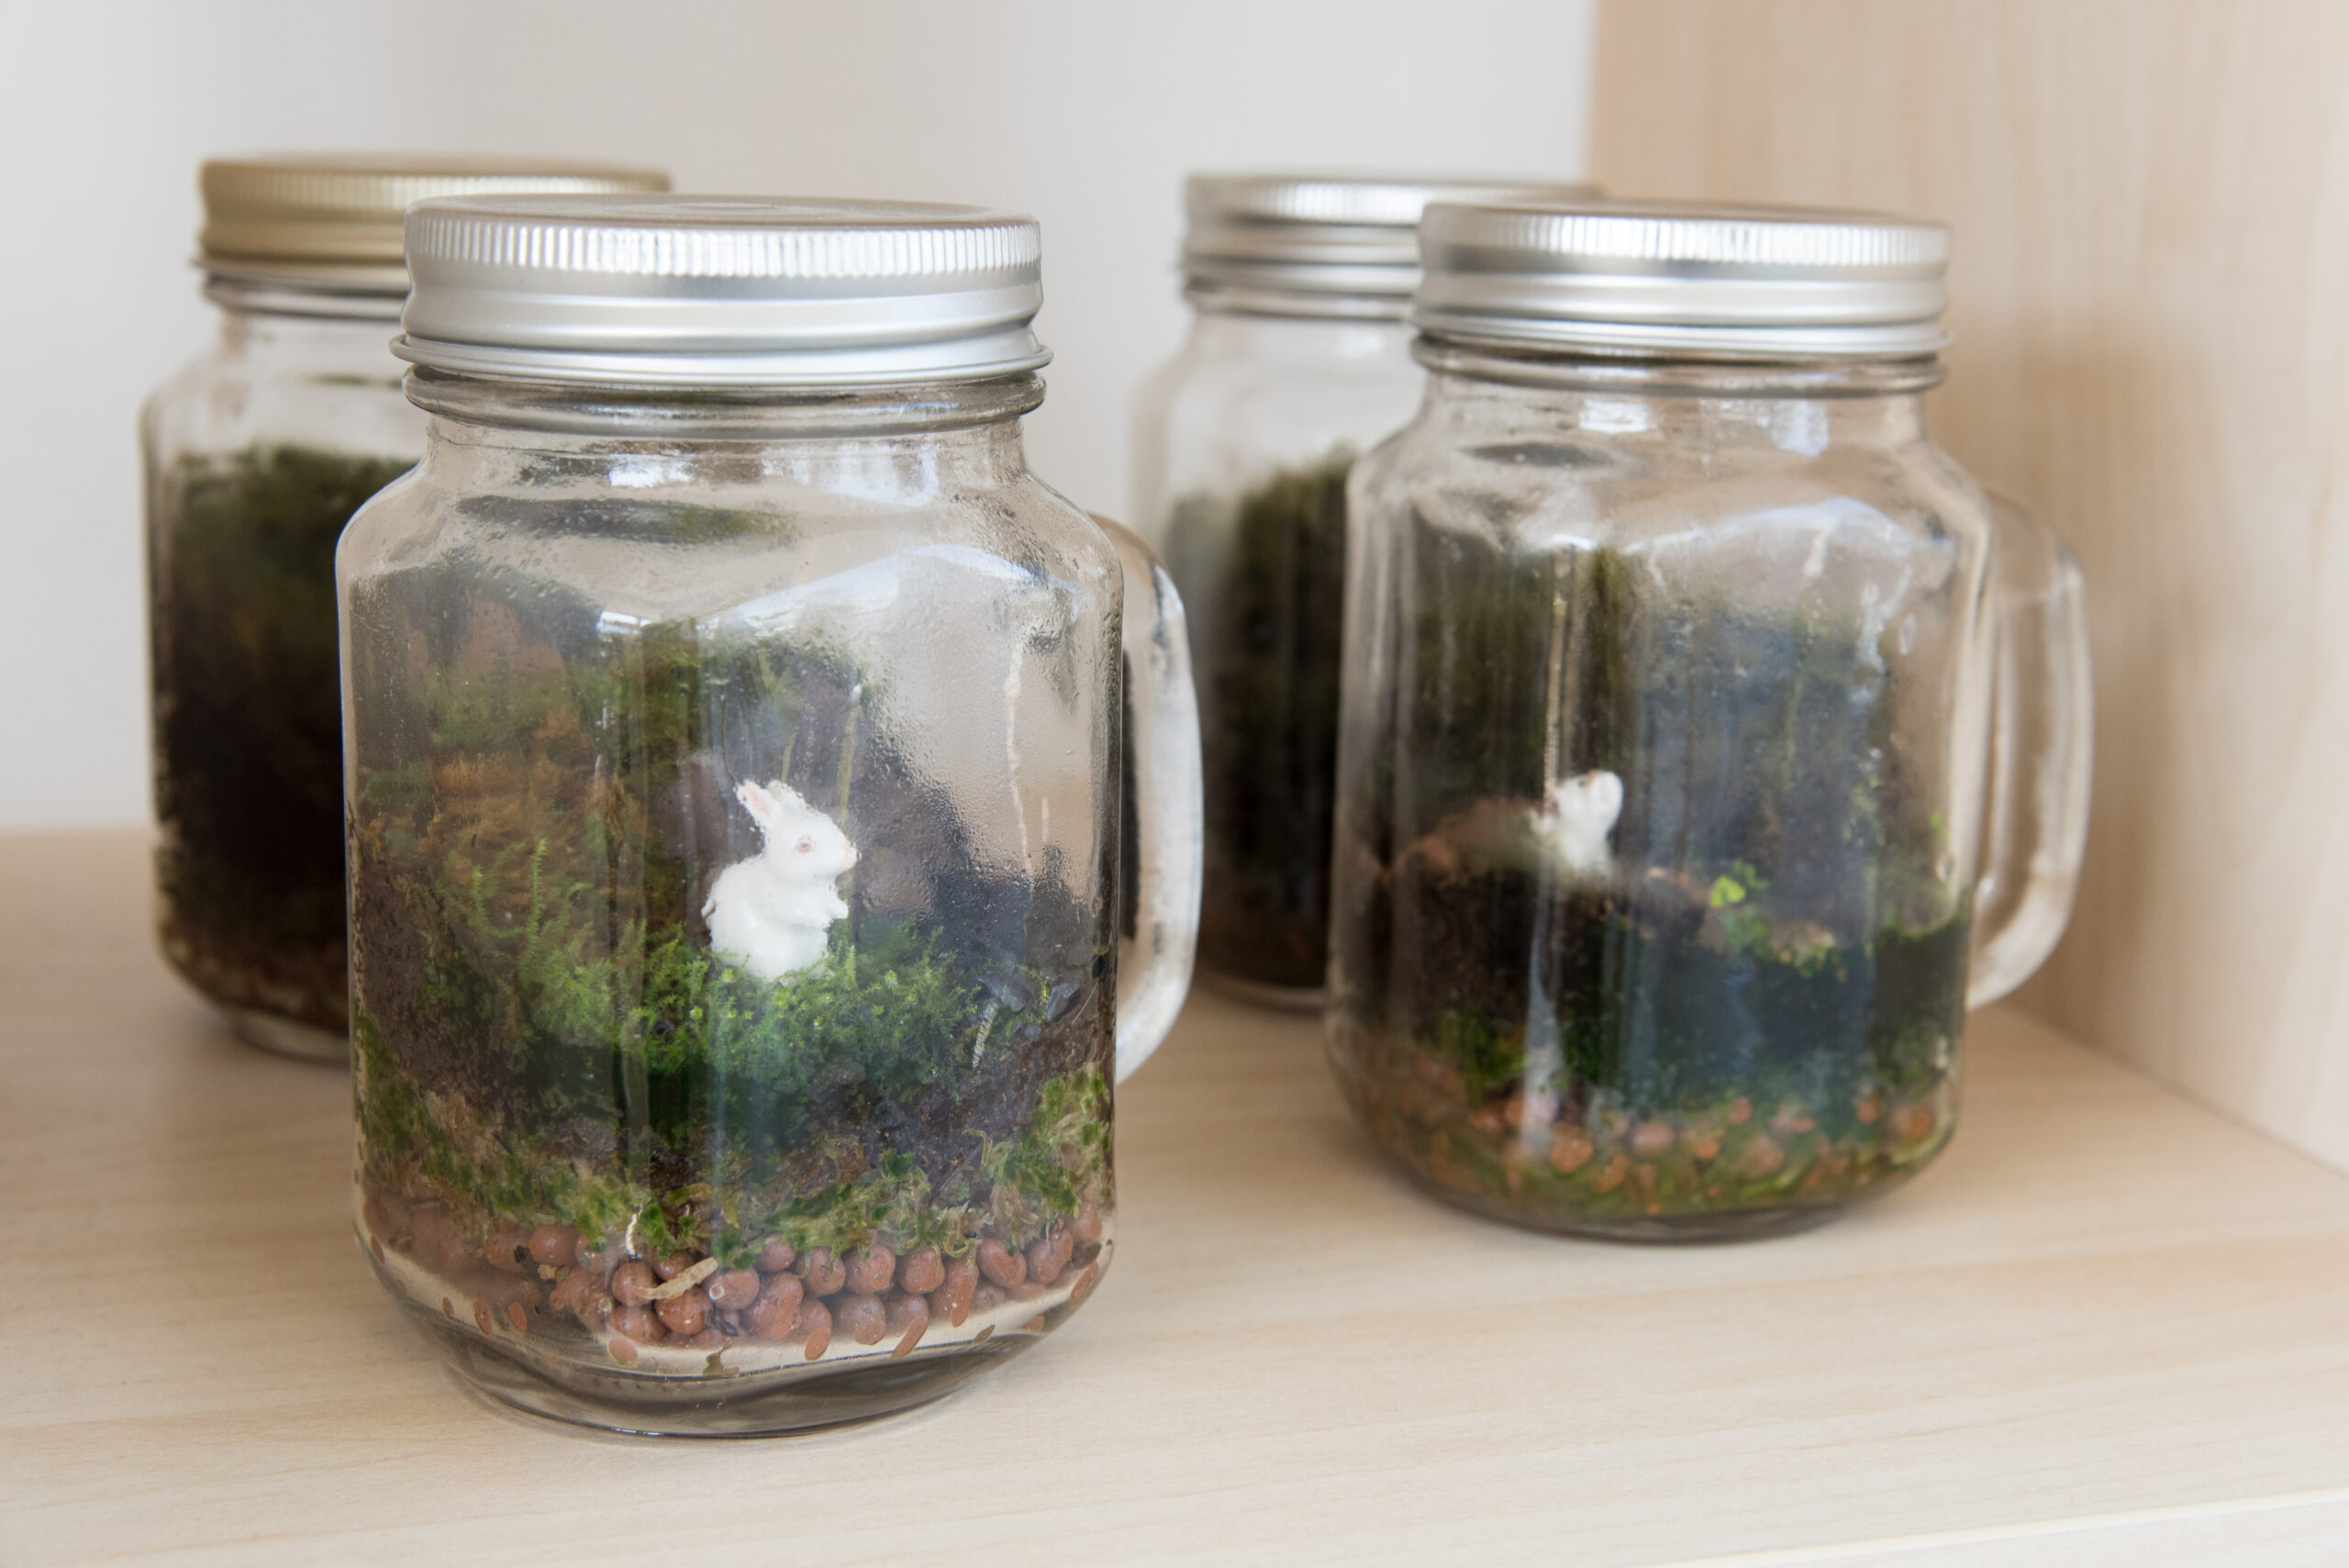
Grow a Forest in a Bottle! (Children with Adult Supervision) – Weeks to Months
Supplies:
- Scissors
- Empty 2-liter soda bottle with cap
- Small stones or pebbles
- Potting soil
- 1 or 2 small plants
- Water
- Scotch tape
Experiment:
- Cut the soda bottle in half, using scissors.
- Put 1 to 2 inches of small stones in the bottom half of the bottle. Then add soil to about 1 inch from the top of the bottom half of the bottle.
- Add the plants, water until soil is moist but not soaked, and tape the upper half of the bottle onto the bottom half.
- For several weeks, place the bottle in a warm location with decent humidity. Do not place in direct sunlight! You should have a thriving plant ecosystem in your soda bottle. Congratulations!
For more amazing science experiments, check out the collection of science-related books that we have at Orange County Library System! All experiments in this post were collected from The 101 Coolest Simple Science Experiments by Holly Homer. If you would like to post your own science experiments, share them in the comments below!