


Here in Orlando, our seasons always seem to be mushed together under one hot umbrella. Trying to make improvements or enhancements doesn't have to be super expensive, so to make this season stand out I’ve collected five simple DIY projects to make your home bloom. At the library, we're all about being budget friendly, after all!
(Photo Source: Brit + Co)
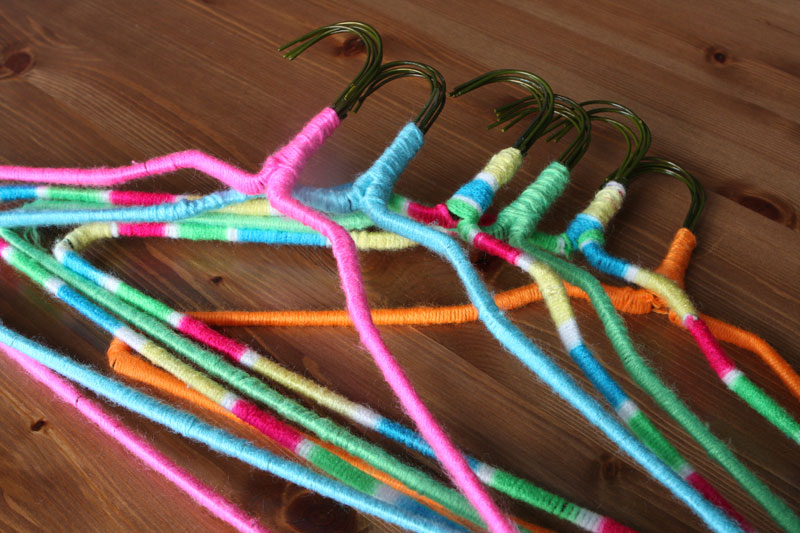
1. Color your chords and hangers
For this easy and fun DIY project, all you need is is tape, scissors, yarn and some hangers, of course. Tape one end of the yarn onto the hanger and start wrapping! For more instruction, visit Brit + Co's website or you can check out the the book Materially crafted: A DIY Primer for the Design Obsessed for more projects with thread.
2. Clay bowls and vases
To make these small homemade pots, all you need is some air dry clay, an exacto knife or dental floss for cutting, wax paper, and a cup or bowl for a mold.
Once you have your materials, you can begin making your bowl by placing your mold upside down and covering it with wax paper, then gently press your clay onto the mold using the knife or dental floss to straighten up the edges. You can then smooth it out with your thumbs and let it dry overnight.
Stuck with leftover clay and don’t know what to do with it? Check out some more projects here.
3. Framed Pinecones
It sounds silly at first, but this project comes out super cute and festive with very little (money and material) needed to make it happen. You’ll need some pinecones (which can easily be found in most craft stores), a frame, paint, glue and scissors. To get started, read the full instructions at the Crafty Morning blog.
4. Light Switch Switcharoo
This simple DIY project changes something small to make a big impact in your living spaces. For this project, you’ll need your switch plate, a colored or patterned paper (or fabric) of your choice, scissors, a foam brush and mod podge. Begin by laying your switch plate on your paper and trace around it, adding a half inch of overlap on each side and cut the shape out. Use your foam brush to apply a coat of mod podge to the front of your switch plate and apply your paper.
Once applied, add a coat of mod podge to the front and to the back of the plate where you will have laid the edges of your paper. To create the holes for your light switch, cut an ex where the holes are and lay those extra pieces down to the back side with mod podge. You can find this project and others in DIY, Damnit!: A practical guide to curse free crafting at the library.
(Photo Source: Sincerely Kinsey)
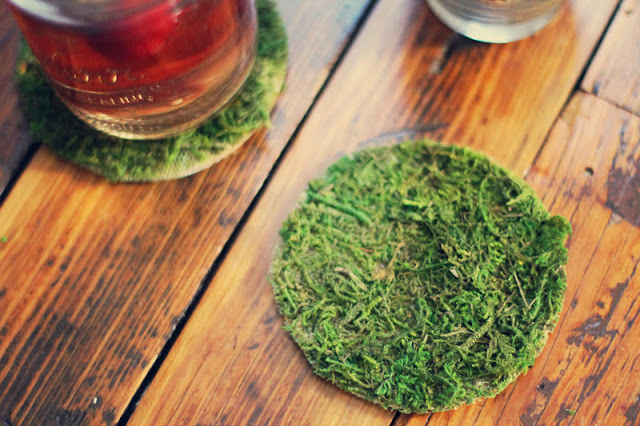
5. Moss Coasters
These coasters are a quirky way to make your home feel like spring. All it takes is a moss mat, cork coasters, scissors and some mod podge. Just paint an even coating of mod podge onto your coster, lay the moss mat flat over the glue and cut it down once it’s dry and you’re good to go!